
1. Pick a photo with clear edges
Outline effects follow contrast. A subject that stands out from a plain background, such as a face against a wall or a building against the sky, gives cleaner lines than a busy street scene.
2. Choose an outline style
Open the photo in Pencil Sketch and switch between Line Drawing and Boundary. Look at the rim and handle of a cup to see which edges survive. Try Gray Pencil to keep more shading. The outline styles require a subscription.
3. Balance lines and background
Use the brightness and contrast adjustments to strengthen the lines you need and quiet the background. Check that eyes, hands, windows or other key details keep their shape.
4. Save and use it
Save the image to Photos. It is a rendered image, not an editable vector file, so print it at a size that suits the photo, or trace it by hand if you need clean ink lines.
The same cup, before and after
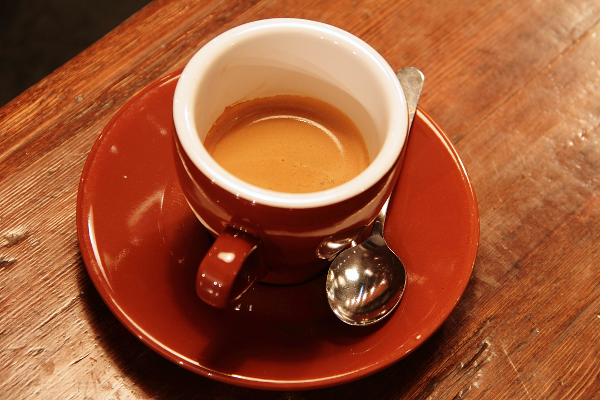
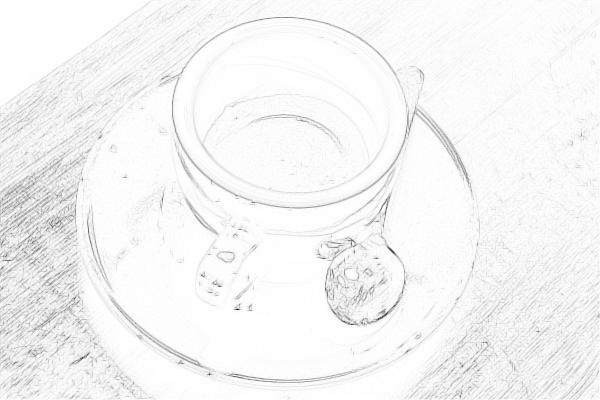
Look at the rim, the spoon and the wood grain. The Line Drawing filter from version 2.0.4 keeps the rim clear and picks up fine lines in the table. A plain surface leaves more room to color.